09 10
Showing posts with label Step it up. Show all posts

Thursday, June 28, 2012

Another Friendship card

Okay here is one more of the cards I got from the card club. I liked this one, but it is a little...flat. Here's their version: And here is one of my versions. I added a dark brown mat behind the flowered paper. And I added some distressing to the tag with my Early Espresso Classic Ink pad:


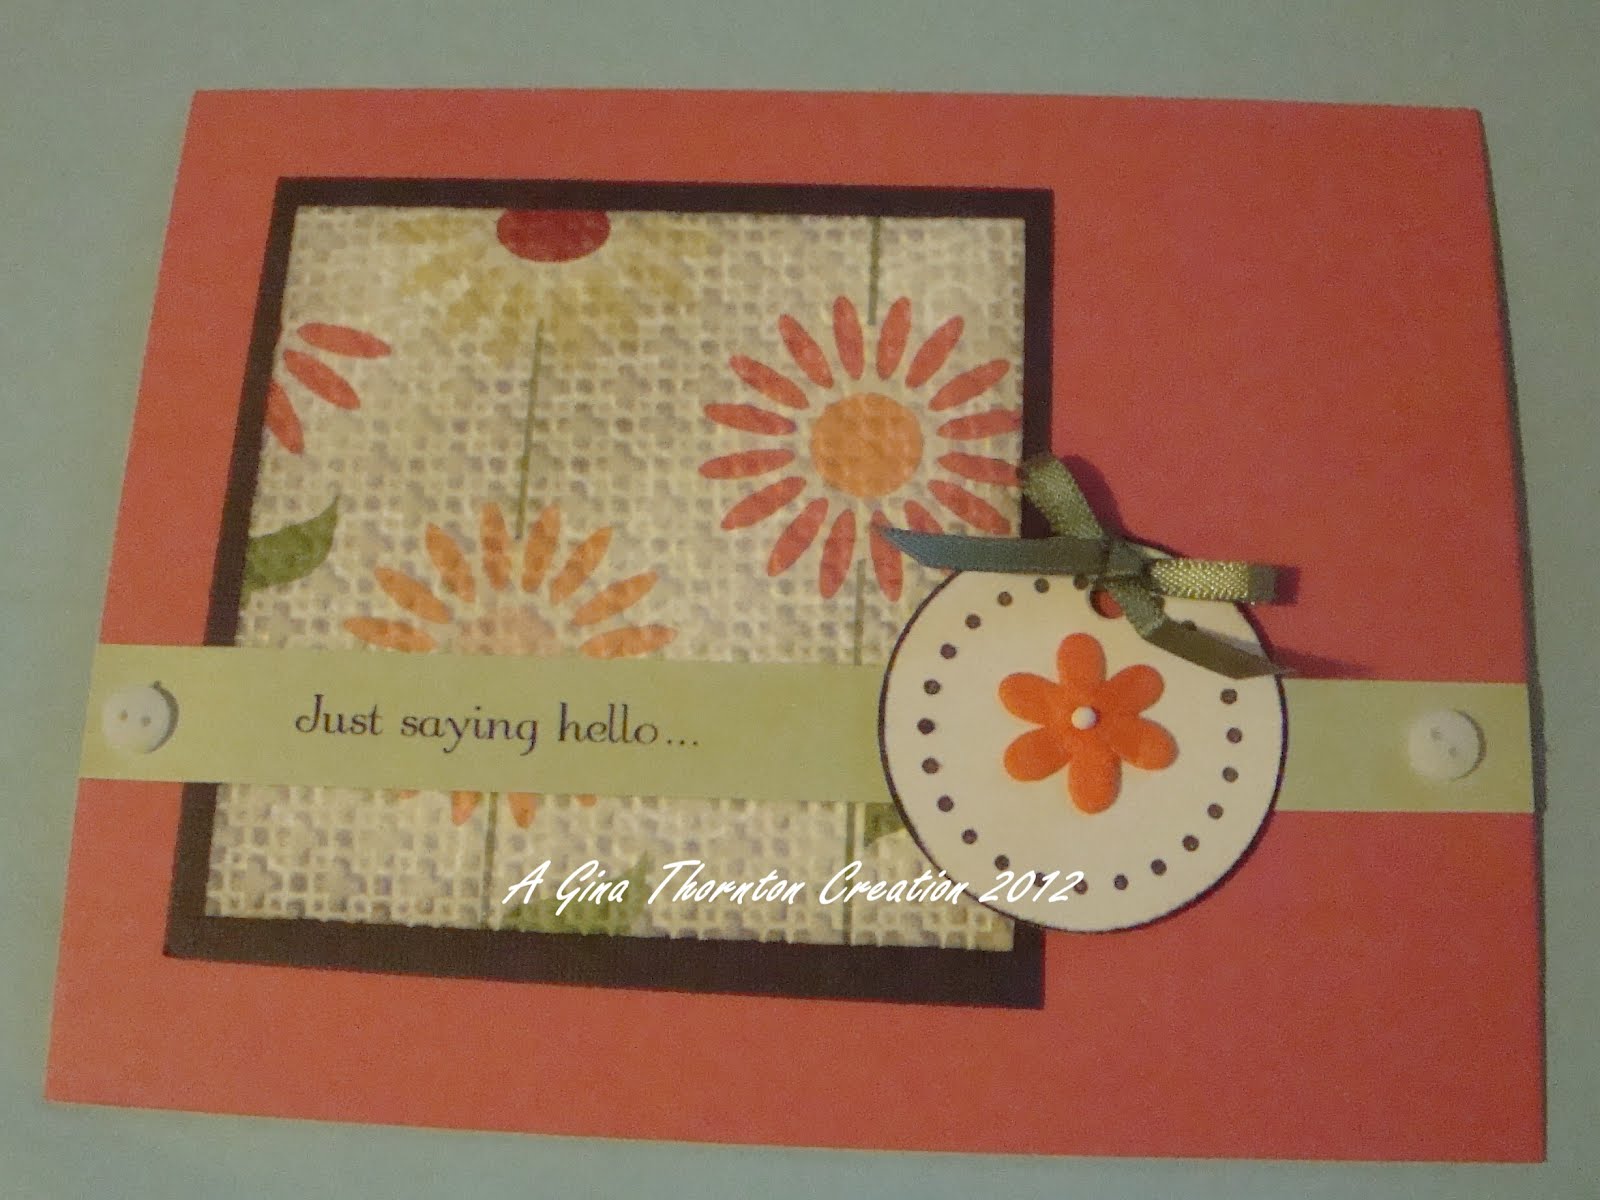
And my second version. This time I embossed the flowered paper with the Square Lattice embossing folder then I distressed the edges with my Early Espresso Classic Ink pad and a sponge. I also swiped the sponge across the front of the paper. Then I added a dotted circle to the tag, and distressed it all with my Early Espresso Classic in:


Wednesday, June 27, 2012

Friendship Swap -

Here is another one of the card sets that I got from the club I used to belong to. Here's their version: And here's one of my versions. Here I just added some rhinestones at the end of the flourish:


And another version. Here I distressed the print piece. I added a bunch of smaller rhinestones all along the flourish.


These cards were not my style, so I found it a little harder to "get into" altering them.

Tuesday, June 26, 2012

Friendship

Here is another one of the card sets from the card club I used to belong to. Here is their version, it is a library card pocket: And one way I changed it. The ribbons they sent were so small so it was hard to change them up much. You can't see it in the picture but I added silver stitch lines along the frame. I added a hole to the purple tab. I slipped the big ribbon through the hole and then tied it with the smaller piece.


And another version: I added silver stitching to the "rick Rack" piece as well as the frame. I also used a bit of Marina Mist Classic Ink on the transparency piece, I also distressed the frame. I tied a little piece of thread around the big ribbon and then held it in place in the back while I stapled the smaller ribbon in the front. I also ran the library card pocket through my Perfect Polka Dots folder by Stampin Up:


This card was....not my style. I stared at it for quite some time before I figured out something to do.

Monday, June 25, 2012

Summer Fun Card Fronts

A few years ago, before I became more of a card maker, I used to belong to this card club. This business closed years ago, probably at least 4 or 5 years now. Each month they sent me a kit with all of the parts that I could make 2 cards. I loved these kits, but sometimes they lacked a little something. Another gripe I had was often times, like when it included ribbon, it was such a small amount. So if you weren't good at tying bows, there was no room for error. I still have many many of the kits they sent sitting in a drawer un-assembled. So I dug one out and took it apart. Here was their sample: I cut the cards apart which gave me 4 card fronts. I trimmed them down, and added a mat layer of black. I made the black mat at 3 3/4" x 5. The receiver can mat it down to a white card, or choose another color card.


Then I decided to make a few more of my own. The top 2 cards used the green layer that I had from cutting the cards I made above. The bottom 2 are some green I had on hand, which I ran through my Perfect Polka Dots embossing folder by Stampin' Up. The flip flop embellishments I bought many years ago from a big box store. I typed up my own sentiments in, I believe it is, Word Perfect. The ribbons are all stuff I had on hand.


And another version with green ribbon and a lighter shade of green.


I just wanted to show how you can add a little and make a so so card look even better. And when you find a layout that you like, change some accessories to give it a different look.


These will be for my Summer Fun Card Front theme on my favorite MB.